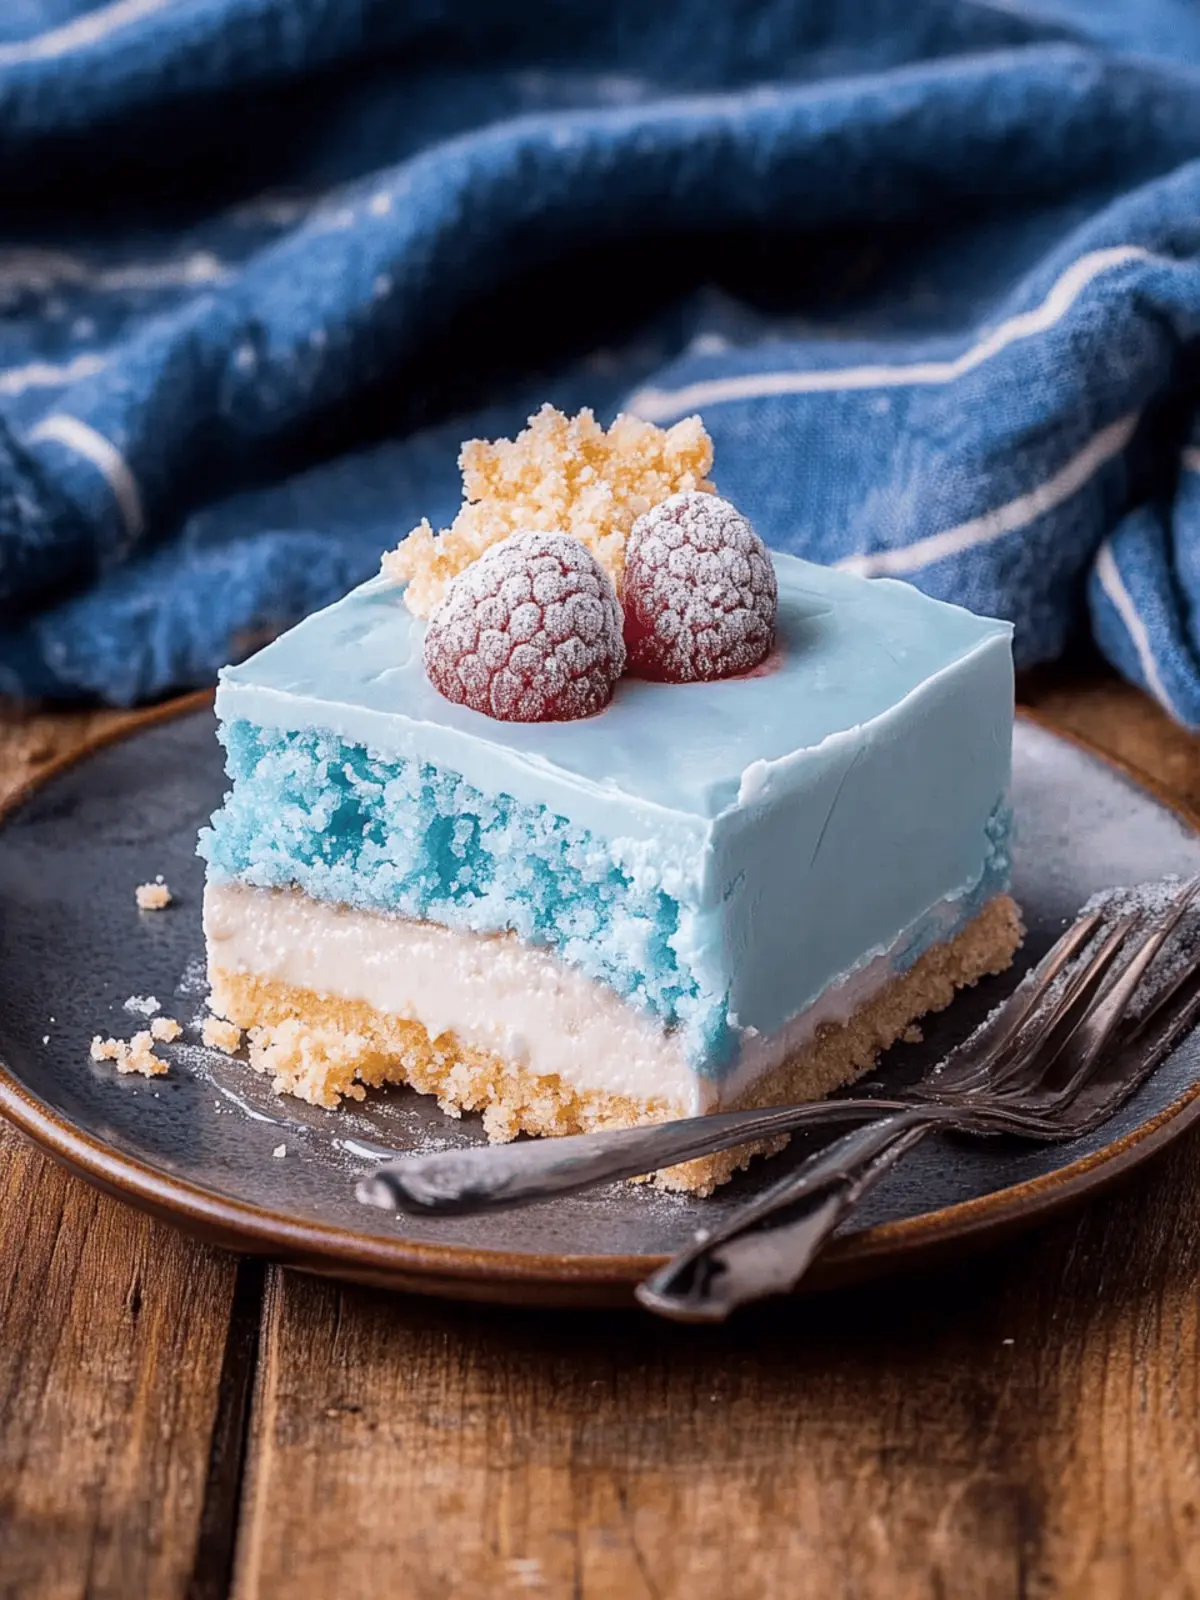
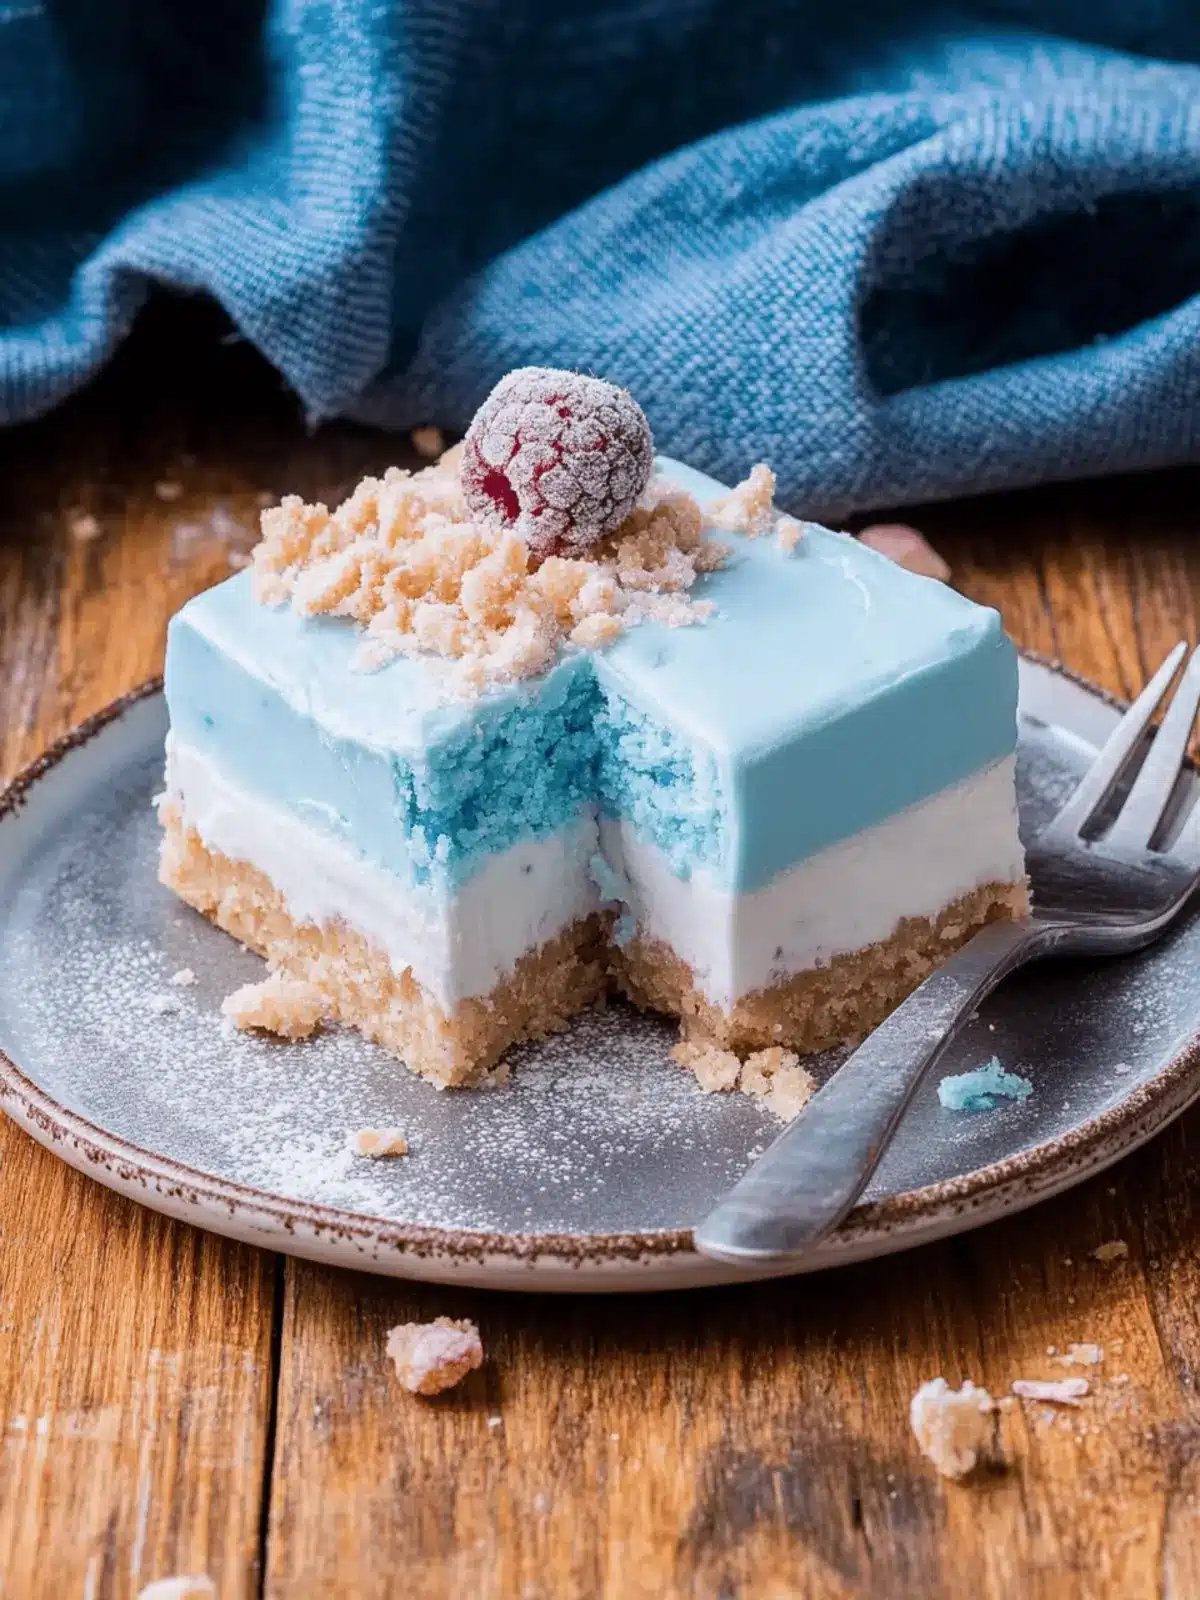
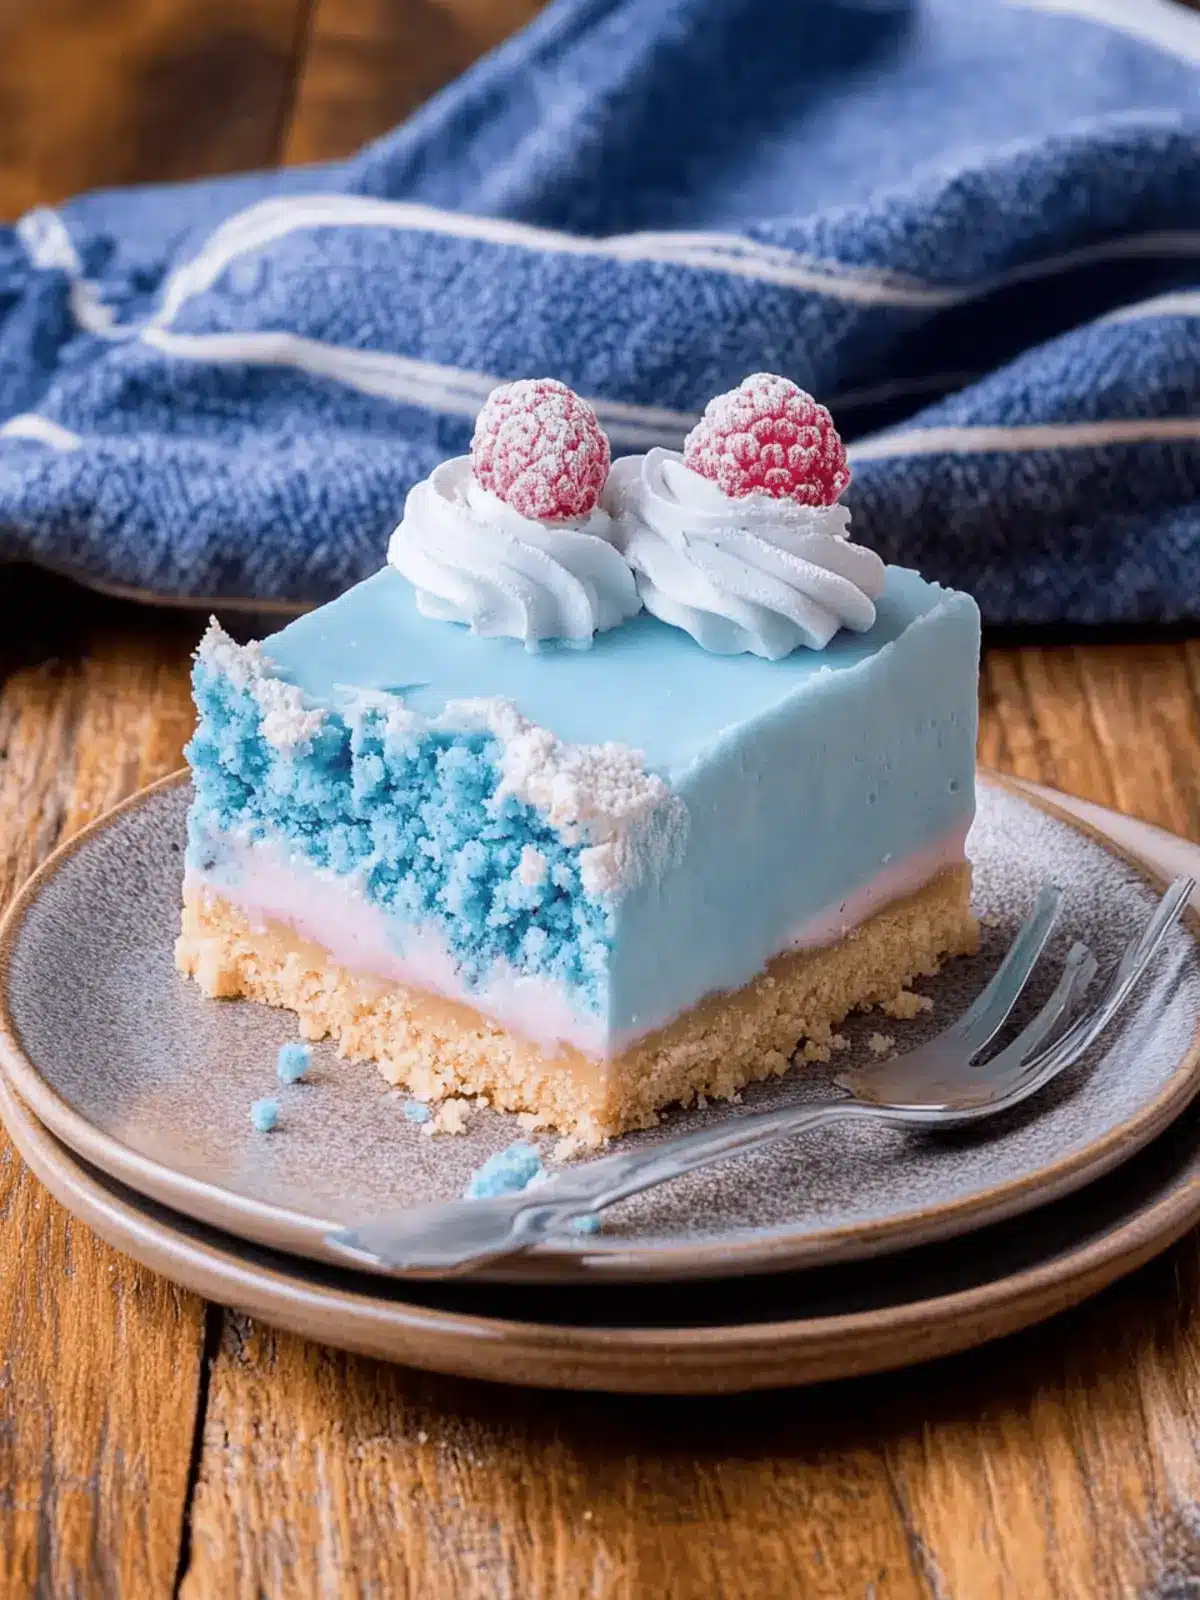
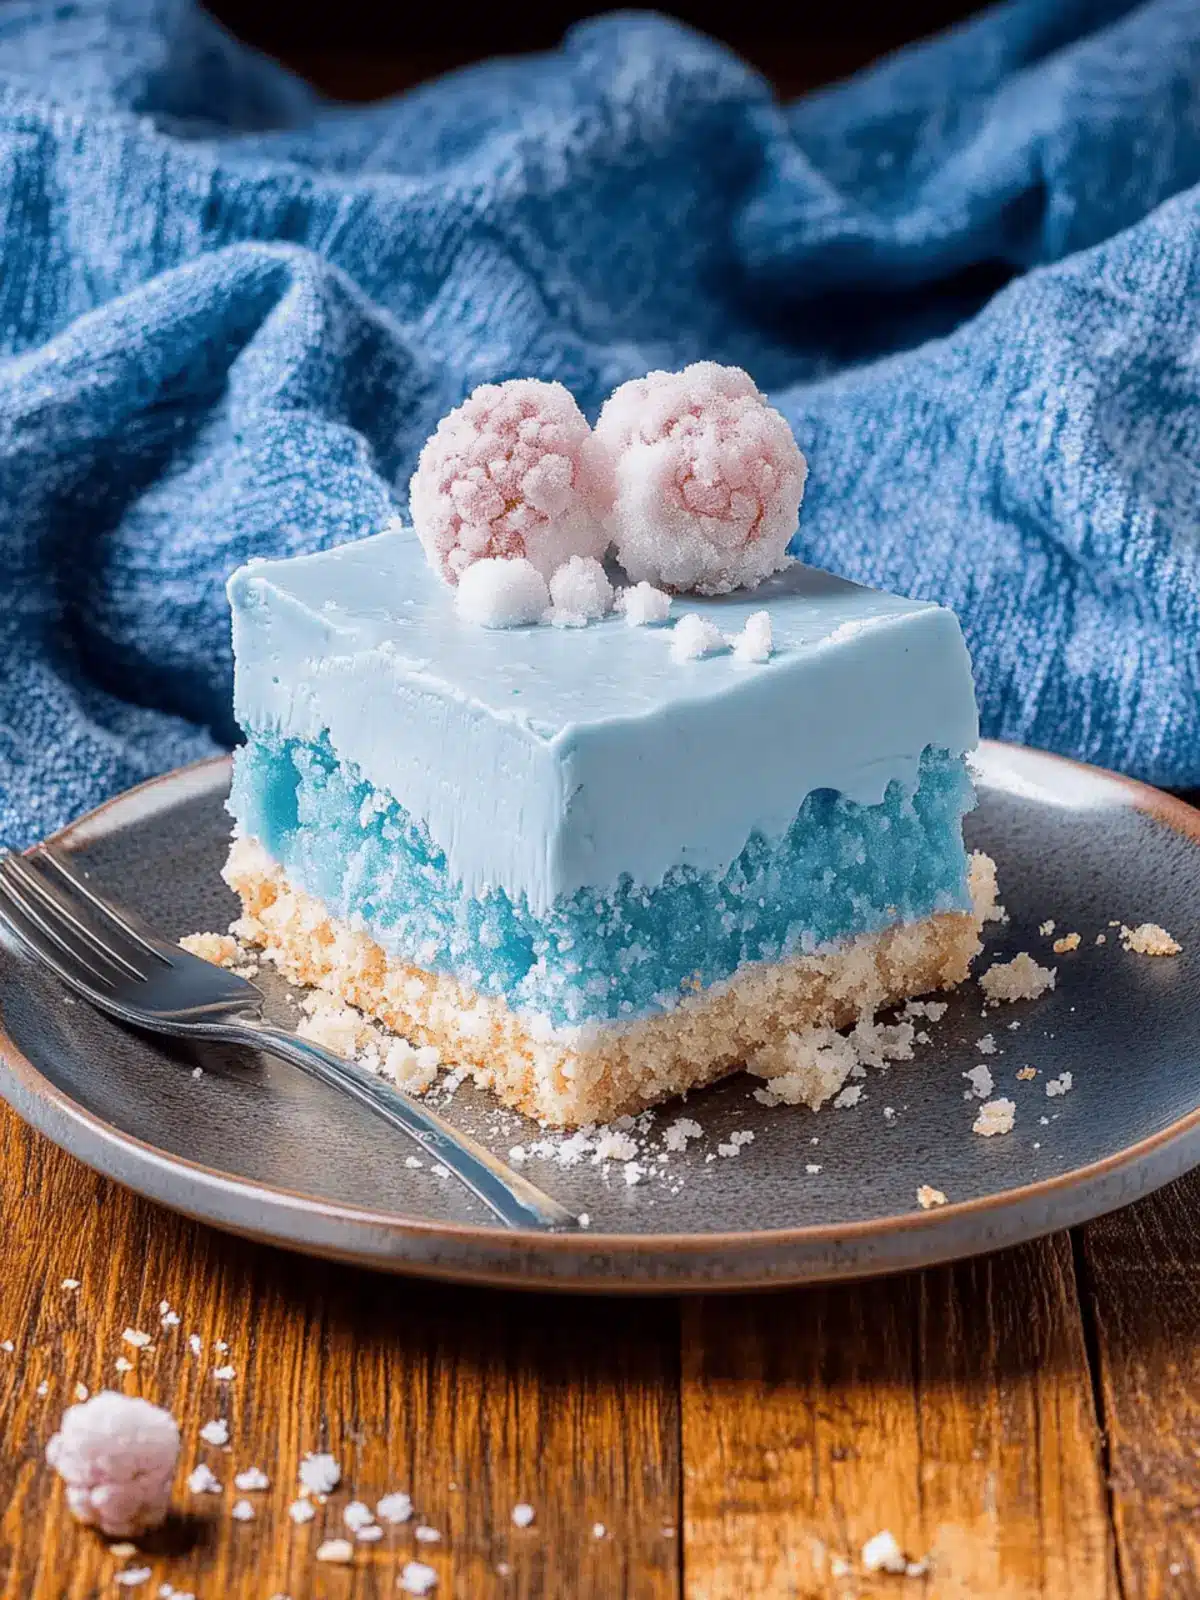
There’s a certain joy that comes with creating desserts that not only taste heavenly but also burst with color and personality. Enter the Blue Raspberry Dream Bars—my go-to no-bake treat that effortlessly captures the essence of summer. The first time I prepared these vibrant beauties, I was amazed at how quickly they came together, leaving me with extra time to relax with family and friends.
With their creamy texture and delightful tang, these bars are not just your average dessert; they’re a showstopper perfect for gender reveal parties or any festive occasion. Imagine the smiles as you serve a dessert that looks like it belongs at a carnival yet requires minimal effort to whip up! Whether you’re entertaining guests or treating yourself, these bars are a delicious way to make summer last all year round. So grab your mixing bowl and let’s dive into this sweet adventure!
Why are Blue Raspberry Dream Bars a must-try?
Vibrant Colors: The eye-catching blue hue creates a visually stunning dessert that impresses at any event.
Effortless Preparation: With no baking required, you save time while delivering a deliciously creamy treat that anyone can master.
Unique Flavor: The combination of blue raspberry and cheesecake offers a taste sensation that’s both nostalgic and refreshing.
Versatile Options: Easily customize the recipe by swapping flavors or crusts for variety—perfect for different occasions!
Crowd-Pleasing Appeal: Ideal for parties, these bars are sure to delight guests of all ages and become the star of the dessert table!
Get ready to enjoy heavenly bites with these delightful bars!
Blue Raspberry Dream Bars Ingredients
For the Crust
• Nilla Wafer Cookie Crumbs – Gives a sweet, buttery flavor; use graham cracker crumbs for a different twist.
• Unsalted Butter – Provides richness and binds the crust; be sure to melt it before mixing with cookie crumbs.
For the Blue Raspberry Layer
• Blue Raspberry JELL-O – Delivers vibrant color and flavor; a 3-ounce package is essential for balance.
• Cream Cheese – The base for creamy layers; always use at room temperature for easy mixing.
• Raspberry Extract – Intensifies raspberry flavor; vanilla extract works well as a substitute.
• Blue Food Coloring – Adds visual appeal; optional based on your color preference.
For the Cheesecake Layer
• Cool Whip – Contributes a light, airy texture; feel free to use homemade Stabilized Whipped Cream for a personal touch.
• Powdered Sugar – Sweetens the cheesecake layer; regular sugar is an option but may alter texture.
• Vanilla Extract – Enhances overall flavor; opt for pure extract for the best taste.
• Additional Cool Whip – Use for topping and serving, ensuring a light finish to your dessert.
These Blue Raspberry Dream Bars are not only visually stunning but also promise a delightful combination of flavors that make them perfect for any summer gathering!
How to Make Blue Raspberry Dream Bars
- Prepare the Crust: Line an 8×8-inch baking pan with parchment paper. Melt the unsalted butter, then mix it with crushed Nilla Wafer cookie crumbs. Press this mixture firmly into the pan, and freeze for at least 30 minutes to set.
- Make Blue Raspberry Gelatin: In a bowl, dissolve the blue raspberry JELL-O in boiling water. Stir in cold water, and let the mixture chill until it’s cool but not set, approximately 10 minutes.
- Prepare Raspberry Cream Layer: Beat the room-temperature cream cheese in a mixing bowl with the raspberry extract and blue food coloring until smooth. Gradually mix in the chilled gelatin until well combined, then refrigerate for about 1 hour to thicken.
- Prepare Cheesecake Layer: In another bowl, beat another portion of cream cheese with powdered sugar and vanilla extract until smooth. Gently fold in one cup of Cool Whip for a creamy texture.
- Assemble Layers: Spread the cheesecake layer over your chilled crust evenly, then slowly pour the blue raspberry cream layer on top, spreading it gently to avoid mixing.
- Chill: Cover the pan and refrigerate overnight, or for a minimum of 6 hours, to let the layers set properly.
- Serve: Once chilled, lift the bars from the pan using the parchment paper. Slice with a hot knife for clean edges, and top with additional Cool Whip and any edible decorations you like.
Optional: Serve with fresh berries or alongside festive drinks for a fun twist!
Exact quantities are listed in the recipe card below.
What to Serve with Blue Raspberry Dream Bars?
Imagine a bright summer day filled with laughter, sunshine, and delightful flavors that dance on your taste buds. These dreamy bars are the perfect centerpiece for creating a memorable meal or gathering.
- Fresh Berries: Juicy raspberries and blueberries enhance the fruity flavors and add a refreshing, tart contrast to the sweet bars.
- Light Lemonade: A chilled glass of sparkling lemonade brightens up the palate and complements the tangy sweetness of the dessert perfectly.
- Whipped Cream: A dollop of freshly whipped cream adds an airy richness, elevating the creamy layers of the Blue Raspberry Dream Bars to divine heights.
- Fruit Skewers: Colorful skewers filled with seasonal fruits make for a fun, playful side that echoes the vibrant hues of the dessert.
- Vanilla Ice Cream: A scoop of creamy vanilla ice cream creates a delightful temperature contrast, melting into the bars’ layers and enhancing their sweetness.
- Mint Leaves: Fresh mint leaves not only add a pop of green but also a hint of herbal freshness that lifts the overall dessert experience.
- Pineapple Coconut Mocktail: This refreshing drink brings tropical vibes, perfectly balancing the sweet and tangy flavors of the bars.
- Chocolate Dipped Pretzels: These sweet-and-salty snacks offer a satisfying crunch and an intriguing flavor contrast, rounding out a fun dessert table.
Gather your favorite treats and beverages, and enjoy a dazzling presentation that will enchant your family and friends!
Expert Tips for Blue Raspberry Dream Bars
- Chill Gelatin Properly: Make sure the gelatin is cool but not fully set before mixing with cream cheese. This prevents lumps and ensures a smooth texture.
- Temperature Matters: Always use room-temperature cream cheese for easy blending. Cold cream cheese can create a lumpy cheesecake layer.
- Perfect Cutting Technique: For cleaner slices, dip your knife in hot water, wipe it dry, and cut through the bars—this helps maintain those beautiful edges.
- Layering Strategy: Spread each layer gently to keep them distinct. Pour the blue raspberry cream slowly over the cheesecake layer to avoid mixing.
- Don’t Rush Chilling Time: Allow enough time for the bars to set in the refrigerator. Ideally, chill overnight for the best texture and flavor.
- Creative Variations: Use different gelatin flavors to switch things up, like strawberry or lemon, while maintaining the vibrant appeal of these Blue Raspberry Dream Bars.
How to Store and Freeze Blue Raspberry Dream Bars
Fridge: Keep the bars covered in the refrigerator for up to 3 days to maintain their creamy texture and fresh flavor.
Freezer: For longer storage, wrap the bars tightly in plastic wrap and then aluminum foil, sealing them well. They can be frozen for up to 2 months.
Reheating: While it’s typically enjoyed chilled, if you prefer to soften the bars before serving, allow them to sit at room temperature for about 15-20 minutes after removing from the fridge or freezer.
Serving Tip: Always slice bars after chilling to ensure clean edges, enhancing their presentation during gatherings.
Blue Raspberry Dream Bars Variations
Feel free to let your creativity shine and customize these delicious bars to suit your taste!
- Flavor Swap: Replace blue raspberry gelatin with strawberry or cherry for a delightful change in taste and color.
Imagine a vibrant ruby-red dessert brightening your table and tantalizing your taste buds! - Crust Options: Substitute Nilla Wafers with graham cracker crumbs or crushed Oreos for a different flavor experience.
Each crust offers a unique twist, creating a new layer of enjoyment with every bite! - Fresh Fruit Addition: Mix in fresh raspberries or blueberries into the cream layers for an extra burst of juicy flavor.
These fruits not only elevate the taste but also add delightful pops of color to your bars. - Healthier Option: Use Greek yogurt instead of cream cheese for a lighter, tangy cheesecake layer.
It’s a great way to enjoy these bars with a nutritional boost without sacrificing flavor! - Nutty Crust: Incorporate finely ground nuts like almonds or pecans into your crust for an added crunch.
This twist brings a scrumptious texture while enhancing the overall flavor profile beautifully. - Chocolate Drizzle: Drizzle melted white or dark chocolate on top for an indulgent finish that elevates the dessert’s visual appeal.
This sweet touch adds a rich contrast that pairs superbly with the tangy raspberry layers! - Vegan Version: Use coconut whipped cream and dairy-free cream cheese for a plant-based treat everyone can enjoy.
Enjoy the same creamy goodness in a vegan-friendly way, ensuring no one misses out on the fun! - Spice It Up: Add a pinch of cayenne or chili powder to the cheesecake layer for a surprising heat that complements the sweetness.
This unexpected twist is sure to leave your guests guessing and wanting more!
Make Ahead Options
These Blue Raspberry Dream Bars are a fantastic choice for busy home cooks looking to streamline meal planning! You can prepare the crust and blue raspberry cream layer up to 24 hours in advance, allowing flavors to meld beautifully. Simply follow the first three steps of the recipe, and after assembling the cheesecake layer, cover and refrigerate. To maintain the bars’ delightful texture, store them tightly wrapped to prevent any moisture loss. When you’re ready to serve, just pour the raspberry layer on top, chill for at least 6 hours (or overnight for best results), and you’ll have a show-stopping dessert that tastes just as delicious, saving you time and effort for your gathering!
Blue Raspberry Dream Bars Recipe FAQs
How do I select the right Cool Whip for the Blue Raspberry Dream Bars?
Absolutely! You can use store-bought Cool Whip for convenience, but if you’re interested in making it from scratch, I recommend preparing Stabilized Whipped Cream. To do this, whip 1 cup of heavy cream with 2 tablespoons of powdered sugar and 1 teaspoon of vanilla extract until soft peaks form. For added stability, mix in 1 tablespoon of cornstarch or instant pudding mix.
What is the best way to store leftover Blue Raspberry Dream Bars?
Very simple! Keep the bars covered in an airtight container in the refrigerator for up to 3 days. This helps maintain their creamy texture and fresh flavor. If you want to enjoy them longer, consider freezing them for up to 2 months—just wrap them tightly in plastic wrap and then aluminum foil to prevent freezer burn.
Advertisement
Can I freeze Blue Raspberry Dream Bars?
Yes, you can! To freeze, wrap the bars tightly in plastic wrap and aluminum foil to keep them well-sealed. Make sure they are in portions you plan to enjoy later. They can be frozen for up to 2 months. To serve, allow them to thaw in the fridge for several hours, or you can let them sit at room temperature for about 15-20 minutes for easier cutting.
What should I do if my cheesecake layer turns out lumpy?
If your cheesecake layer ends up lumpy, don’t worry—this can happen! First, check if your cream cheese was at room temperature; cold cream cheese often leads to lumps. If you encounter lumps, use a hand mixer to blend the mixture until smooth. If it’s too late for that, simply press the layer through a fine-mesh sieve into another bowl to get rid of any lumps before spreading it onto the crust.
Are Blue Raspberry Dream Bars safe for pets and people with allergies?
Great question! Blue Raspberry Dream Bars contain dairy and sugar, so they aren’t suitable for pets. If you or anyone has allergies, be cautious with the specific ingredients. The bars contain cream cheese and Cool Whip, which are dairy products that may not be suitable for lactose intolerant individuals. Always check ingredient labels for allergens, and feel free to modify the recipe to accommodate dietary needs!
How can I prevent the beautiful layers in my Blue Raspberry Dream Bars from blending?
To keep those layers distinct, it helps to allow each layer to set before adding the next. After spreading the cheesecake layer, chill it for at least an hour to firm it up before pouring on the blue raspberry cream. Pour the second layer slowly and gently, which prevents mixing and maintains that gorgeous visual separation when you cut into the bars!
Blue Raspberry Dream Bars: No-Bake Bliss for Summer Fun
Ingredients
Equipment
Method
- Line an 8x8-inch baking pan with parchment paper. Melt the unsalted butter, then mix it with crushed Nilla Wafer cookie crumbs. Press this mixture firmly into the pan, and freeze for at least 30 minutes to set.
- In a bowl, dissolve the blue raspberry JELL-O in boiling water. Stir in cold water, and let the mixture chill until it's cool but not set, approximately 10 minutes.
- Beat the room-temperature cream cheese in a mixing bowl with raspberry extract and blue food coloring until smooth. Gradually mix in the chilled gelatin until well combined, then refrigerate for about 1 hour to thicken.
- In another bowl, beat another portion of cream cheese with powdered sugar and vanilla extract until smooth. Gently fold in one cup of Cool Whip for a creamy texture.
- Spread the cheesecake layer over your chilled crust evenly, then slowly pour the blue raspberry cream layer on top, spreading it gently to avoid mixing.
- Cover the pan and refrigerate overnight, or for a minimum of 6 hours, to let the layers set properly.
- Once chilled, lift the bars from the pan using the parchment paper. Slice with a hot knife for clean edges, and top with additional Cool Whip and any edible decorations you like.

