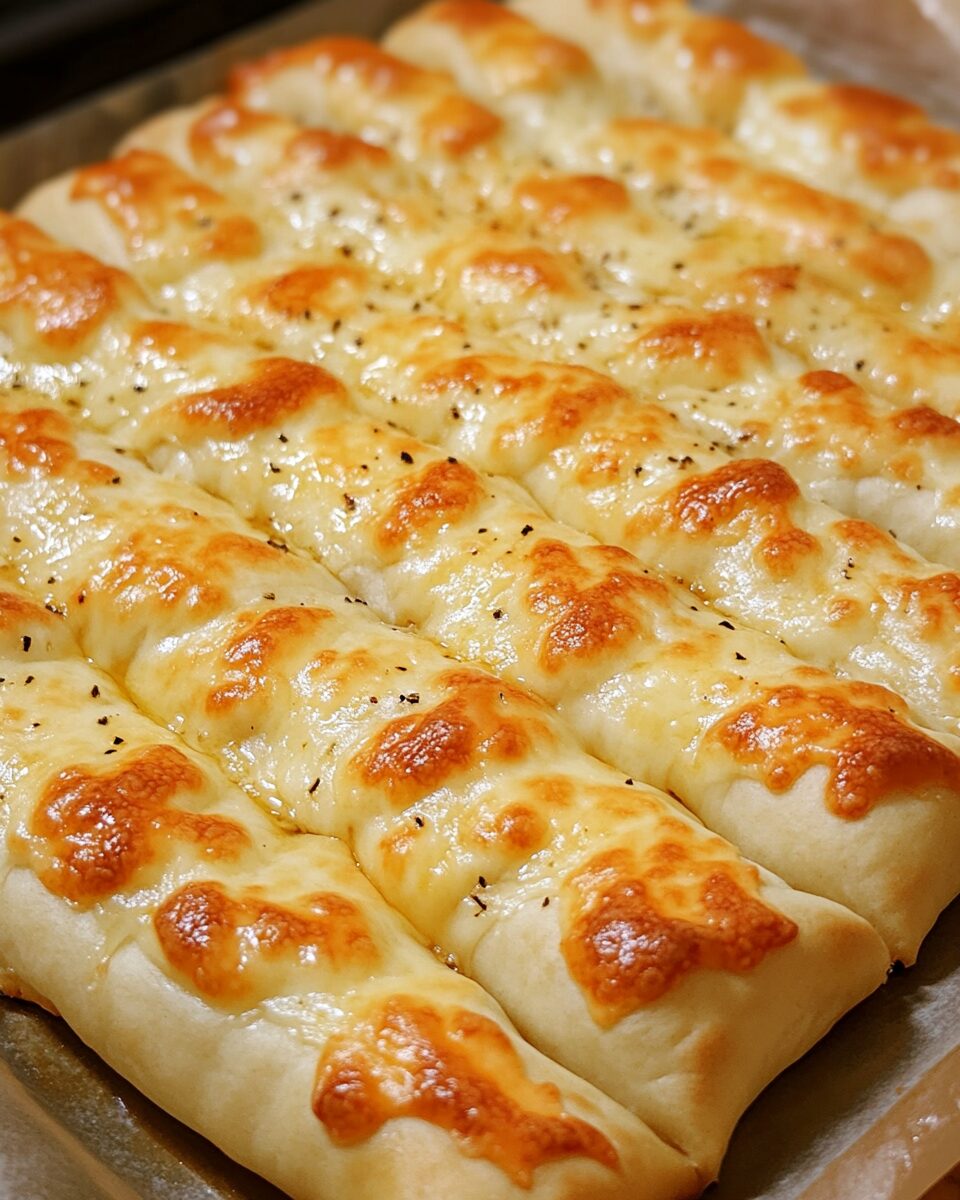
The ultimate cheesy snack is here—these Cheesy Garlic Breadsticks are a mouthwatering combination of fluffy homemade dough, buttery garlic, and layers of molten mozzarella and parmesan. Whether you’re planning a pizza night or just craving something savory, these breadsticks make the perfect sidekick or main star.
What sets them apart is their soft, pillowy base that crisps up beautifully in the oven, contrasted by a bubbling, cheesy top that stretches with every bite. Customize them with herbs or spices, dip them in marinara or ranch, and watch them disappear before your eyes. These are guaranteed to become a go-to favorite in your kitchen!
Full Recipe:
For the Breadsticks:
-
1 ½ cups all-purpose flour
-
1 teaspoon active dry yeast
-
¾ teaspoon salt
-
1 teaspoon sugar
-
1 tablespoon olive oil
-
½ cup warm water
-
1 tablespoon garlic powder (optional)
For the Topping:
-
2 cups shredded mozzarella cheese
-
½ cup grated parmesan cheese
-
2 tablespoons butter, melted
-
1 teaspoon dried oregano or Italian seasoning (optional)
Directions:
-
In a small bowl, combine warm water, sugar, and yeast. Let it rest for 5-10 minutes until frothy.
-
In a large bowl, mix flour and salt. Add the olive oil and yeast mixture to form a dough.
-
Knead on a floured surface for 5-7 minutes until smooth. Cover with a damp cloth and rest for 15 minutes.
-
Preheat oven to 375°F (190°C). Line a baking sheet with parchment paper.
-
Roll dough into a 9×13-inch rectangle. Cut into 12 equal strips using a pizza cutter.
-
Place strips on the baking sheet. Brush with melted butter and sprinkle with garlic powder if using.
-
Top with mozzarella and parmesan cheese. Add herbs if desired.
-
Bake for 20–25 minutes or until golden and cheese is bubbling.
-
Let cool slightly, then serve with marinara or preferred dipping sauce.
Prep Time: 15 minutes | Cooking Time: 25 minutes | Total Time: 40 minutes
Kcal: Approx. 180 kcal per breadstick | Servings: 12 breadsticks
The Comforting Allure of Homemade Cheesy Breadsticks
Few foods ignite instant cravings the way freshly baked, cheesy breadsticks do. They’re warm, gooey, golden, and infused with the comforting aroma of butter and garlic. For many, cheesy breadsticks are the ultimate side dish—perfect for pizza nights, family dinners, game day parties, or even as a standalone snack. While store-bought or restaurant versions can be satisfying, nothing compares to making them from scratch at home. With a simple dough and a handful of pantry staples, you can create breadsticks that rival your favorite pizzeria’s offerings.
Why Homemade Cheesy Breadsticks Are Better Than Store-Bought
There’s a lot to love about the convenience of ordering out or grabbing a frozen version, but homemade cheesy breadsticks have several advantages that elevate them above commercial alternatives.
First, freshness is unmatched. The dough is soft, elastic, and pillowy when made from scratch, rising to just the right height and baked until golden. The cheese melts perfectly, forming a bubbly, gooey layer that stretches delightfully with each bite.
Second, you have total control over the ingredients. Want extra cheese? Go for it. Prefer a mix of cheeses like cheddar and mozzarella? You can do that too. Want to use garlic butter instead of oil? Done. Homemade recipes can be tailored to meet dietary needs, flavor preferences, or even the types of herbs and spices used.
Lastly, the aroma that fills your kitchen while baking homemade cheesy breadsticks is pure bliss. It turns a regular evening into something special, giving you not only a delicious treat but also a joyful cooking experience.
Perfect for Any Occasion
One of the best features of cheesy breadsticks is their versatility. They can be adapted to suit any gathering or mood.
-
Pizza Night Companion: What better side dish to pair with a pizza than cheesy breadsticks dipped in marinara?
-
Movie Night Snack: Serve them with a variety of dipping sauces and a cold drink.
-
Game Day Favorite: Easy to make in large batches and always a hit with guests.
-
Kid-Approved Lunch: Pack them in a school lunch box with some dipping sauce for a fun, satisfying meal.
-
Holiday Appetizer: Slice them thin and serve with dips as an elegant party starter.
Whether you’re planning a casual night in or hosting a gathering, cheesy breadsticks fit the mood and the menu.
Cheese Is the Star – But Not the Only One
While mozzarella often steals the show thanks to its melty, stretchy texture, don’t underestimate the impact of a well-rounded cheese blend. Parmesan, for example, adds a tangy, salty depth that balances mozzarella’s creaminess. You can also experiment with provolone, Monterey Jack, or even a sprinkle of feta for variety.
The dough is another essential component. It’s what provides the structure and contrast to the melty cheese. A good dough will have a tender, chewy inside and a golden, crisp outside. Even better, many homemade recipes are no-knead or require only minimal effort, making them approachable even for novice bakers.
And don’t forget the seasonings—garlic powder, Italian seasoning, crushed red pepper, or fresh herbs like rosemary or basil can add another level of flavor. The key is to keep the seasoning balanced so that it complements the cheese without overpowering it.
Customize to Suit Your Cravings
One of the greatest joys of cooking at home is customization. With cheesy breadsticks, the possibilities are endless:
-
Spicy Kick: Add red pepper flakes or diced jalapeños for a bit of heat.
-
Herb-Forward: Use fresh herbs like thyme, oregano, or rosemary for aromatic, savory complexity.
-
Stuffed Breadsticks: Place additional cheese inside the dough before baking for an ultra-gooey, stuffed version.
-
Protein Boost: Sprinkle cooked, crumbled sausage, pepperoni, or beef bacon bits over the top before baking.
-
Dipping Sauces: Go beyond marinara—try ranch, garlic aioli, spicy buffalo sauce, or even honey mustard for fun flavor twists.
These ideas not only enhance the flavor but also provide variety, ensuring that your homemade breadsticks never get boring.
Tips for Perfect Results Every Time
To get restaurant-quality breadsticks at home, keep the following tips in mind:
-
Use Fresh Yeast: Make sure your yeast is still active. If your mixture doesn’t foam after sitting in warm water with sugar, it’s time to replace it.
-
Don’t Overwork the Dough: While kneading is important for gluten development, too much kneading can make the breadsticks tough.
-
Roll Evenly: This ensures consistent baking. An uneven dough can result in some breadsticks being undercooked while others burn.
-
Generously Butter the Tops: Brushing with butter (especially garlic butter) before baking adds flavor and helps achieve that golden-brown crust.
-
Add Cheese Toward the End (Optional Tip): Some bakers prefer to add the cheese halfway through baking to prevent it from over-browning. Others like the crispy cheese edges that come from baking it the entire time—choose your favorite style!
-
Cool Before Cutting: Let the breadsticks rest for a few minutes before slicing. This allows the cheese to set slightly and prevents mess.
Serving Suggestions
Though they’re fantastic on their own, cheesy breadsticks shine brightest when paired with complementary dishes or dips:
-
Classic Marinara: The acidity of tomato sauce cuts through the richness of the cheese.
-
Creamy Ranch or Blue Cheese: Adds a cool contrast to the warm, cheesy bread.
-
Alfredo Sauce: Doubles down on the decadence—perfect for cheese lovers.
-
Soup Pairing: Serve alongside tomato basil soup, broccoli cheddar, or a hearty minestrone.
-
Side for Pasta Dishes: Elevates lasagna, spaghetti, or fettuccine Alfredo to a complete meal.
And for gatherings, consider setting up a breadstick bar with multiple dipping sauces and toppings so guests can customize their bites.
Make-Ahead and Storage Tips
Cheesy breadsticks are best eaten fresh, but they can still be enjoyed later with the right preparation.
Advertisement
-
Make-Ahead Dough: Prepare and refrigerate the dough up to 24 hours in advance. Bring to room temperature before baking.
-
Freezing: You can freeze unbaked breadsticks after shaping. Just thaw, add toppings, and bake as usual.
-
Reheating: Place leftover breadsticks in a 350°F (175°C) oven for 5–10 minutes to revive the crispiness and melt the cheese again.
-
Storage: Store in an airtight container for up to 2 days. Avoid refrigeration if possible, as it can dry out the bread.
A Favorite Among All Ages
Whether you’re feeding toddlers, teens, or adults, there’s something about cheesy breadsticks that appeals to everyone. Kids love the simplicity and gooey cheese. Adults appreciate the flavor complexity that garlic and herbs bring. And let’s be honest—no one can resist pulling apart a warm breadstick with a perfect cheese stretch.
They’re also a great way to get kids involved in the kitchen. From kneading the dough to sprinkling on the cheese, there are plenty of tasks for little hands.
Conclusion
Homemade cheesy breadsticks are more than just a side dish—they’re a celebration of comforting flavors and the joy of baking. Their soft, golden crust, melty cheese topping, and customizable nature make them an irresistible treat that fits any occasion. From busy weeknights to festive parties, they deliver satisfaction in every bite. And best of all, they’re simple and fun to make, bringing homemade magic to your table with minimal effort.
So, the next time you’re planning a meal or looking for a snack that hits all the right notes—salty, cheesy, crispy, and soft—skip the delivery and head to your kitchen. Your homemade cheesy breadsticks will be the star of the show.