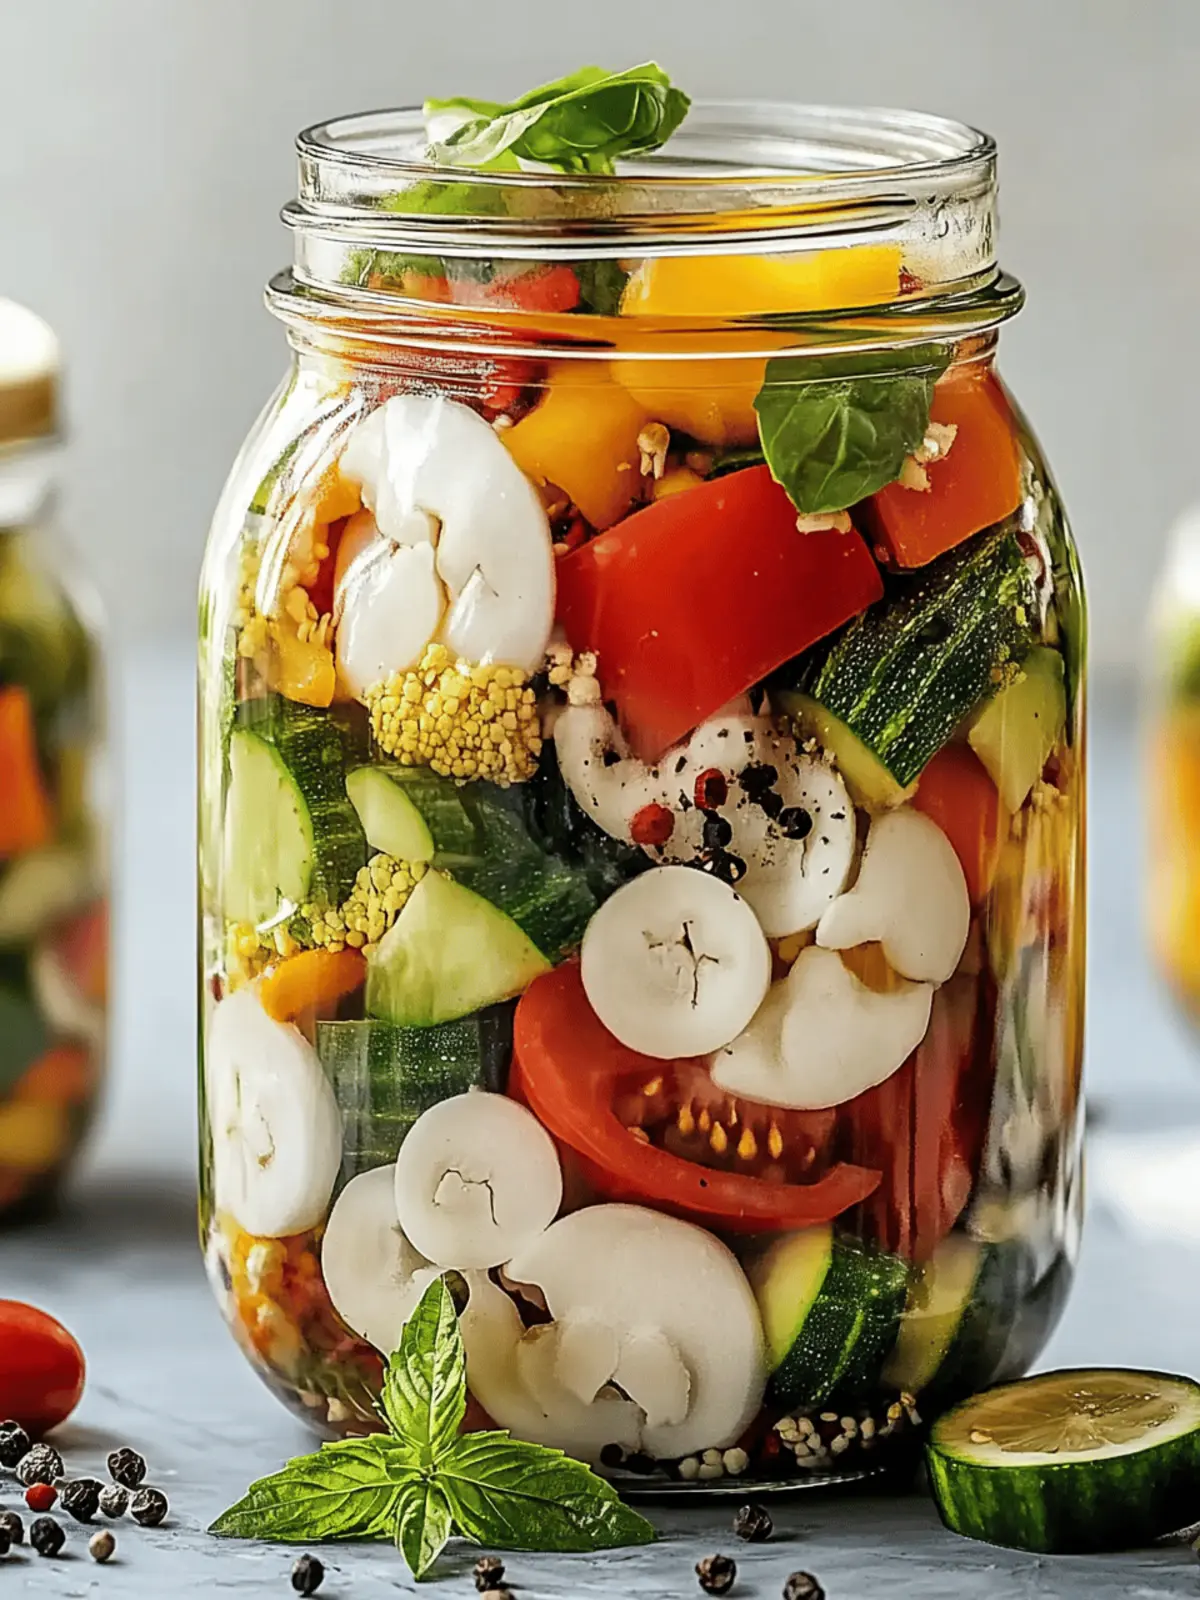
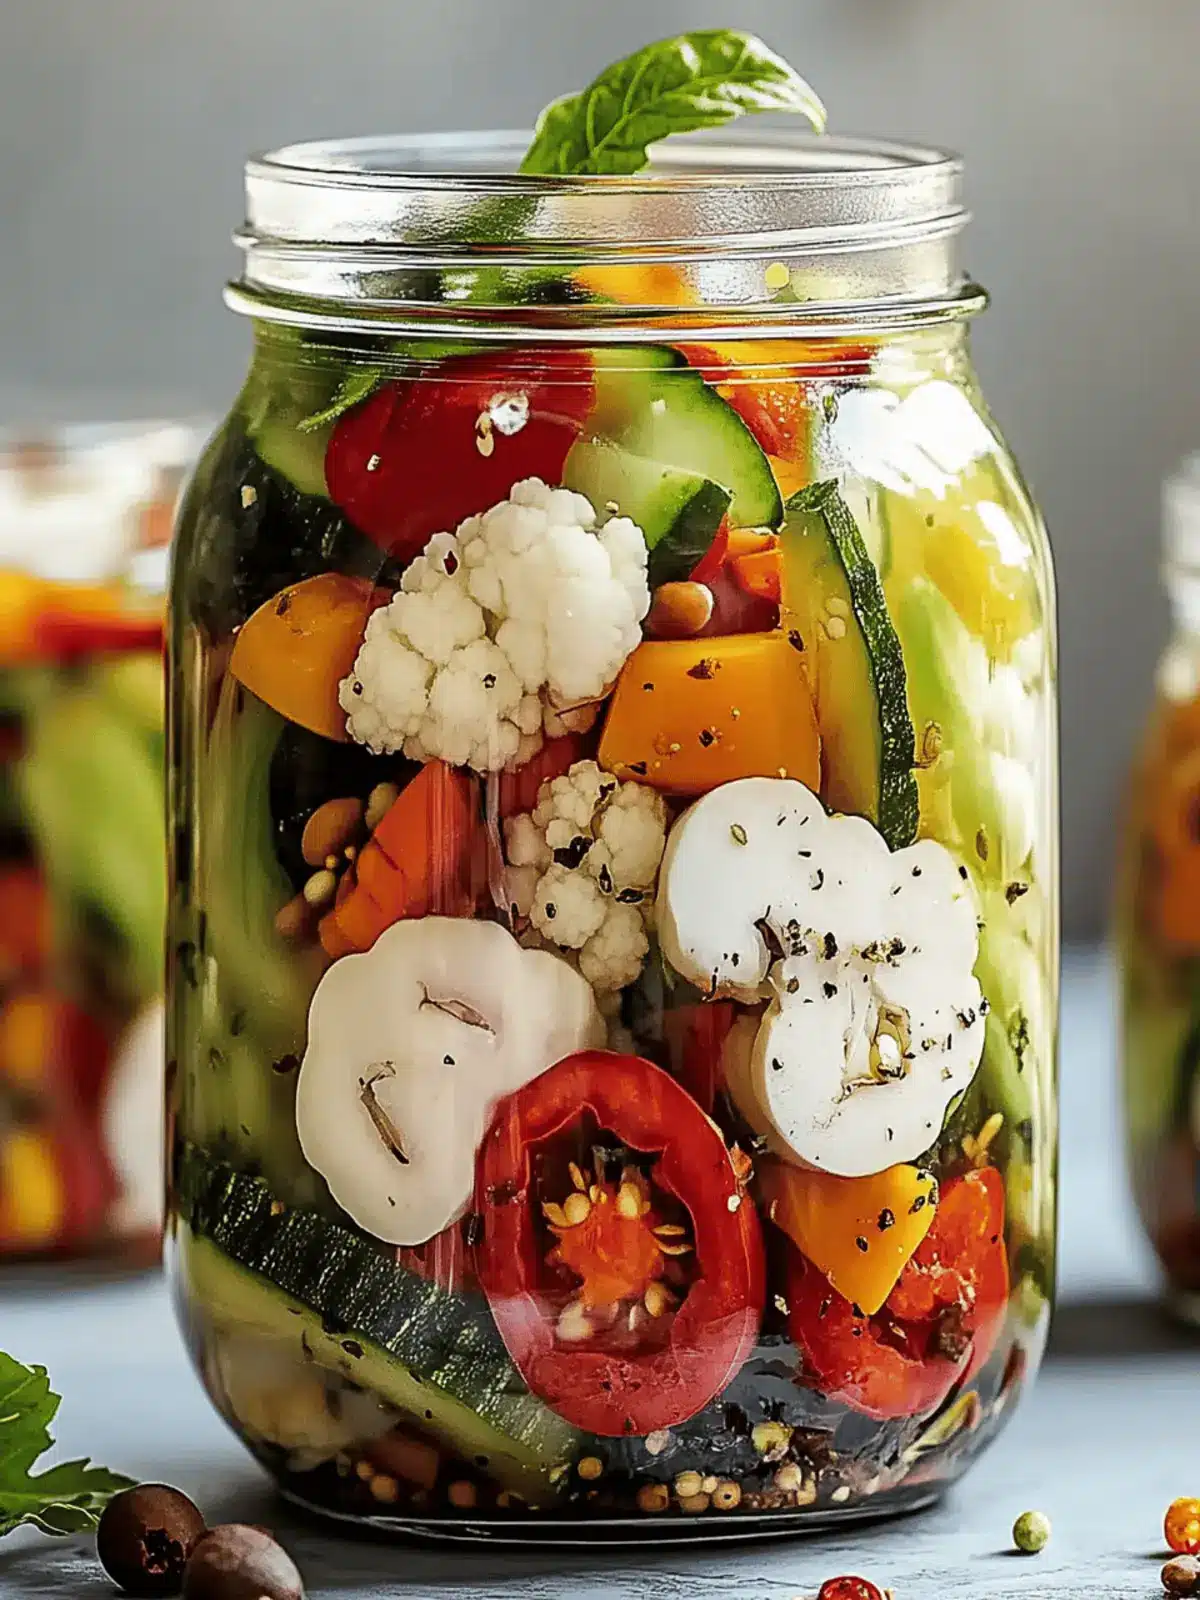
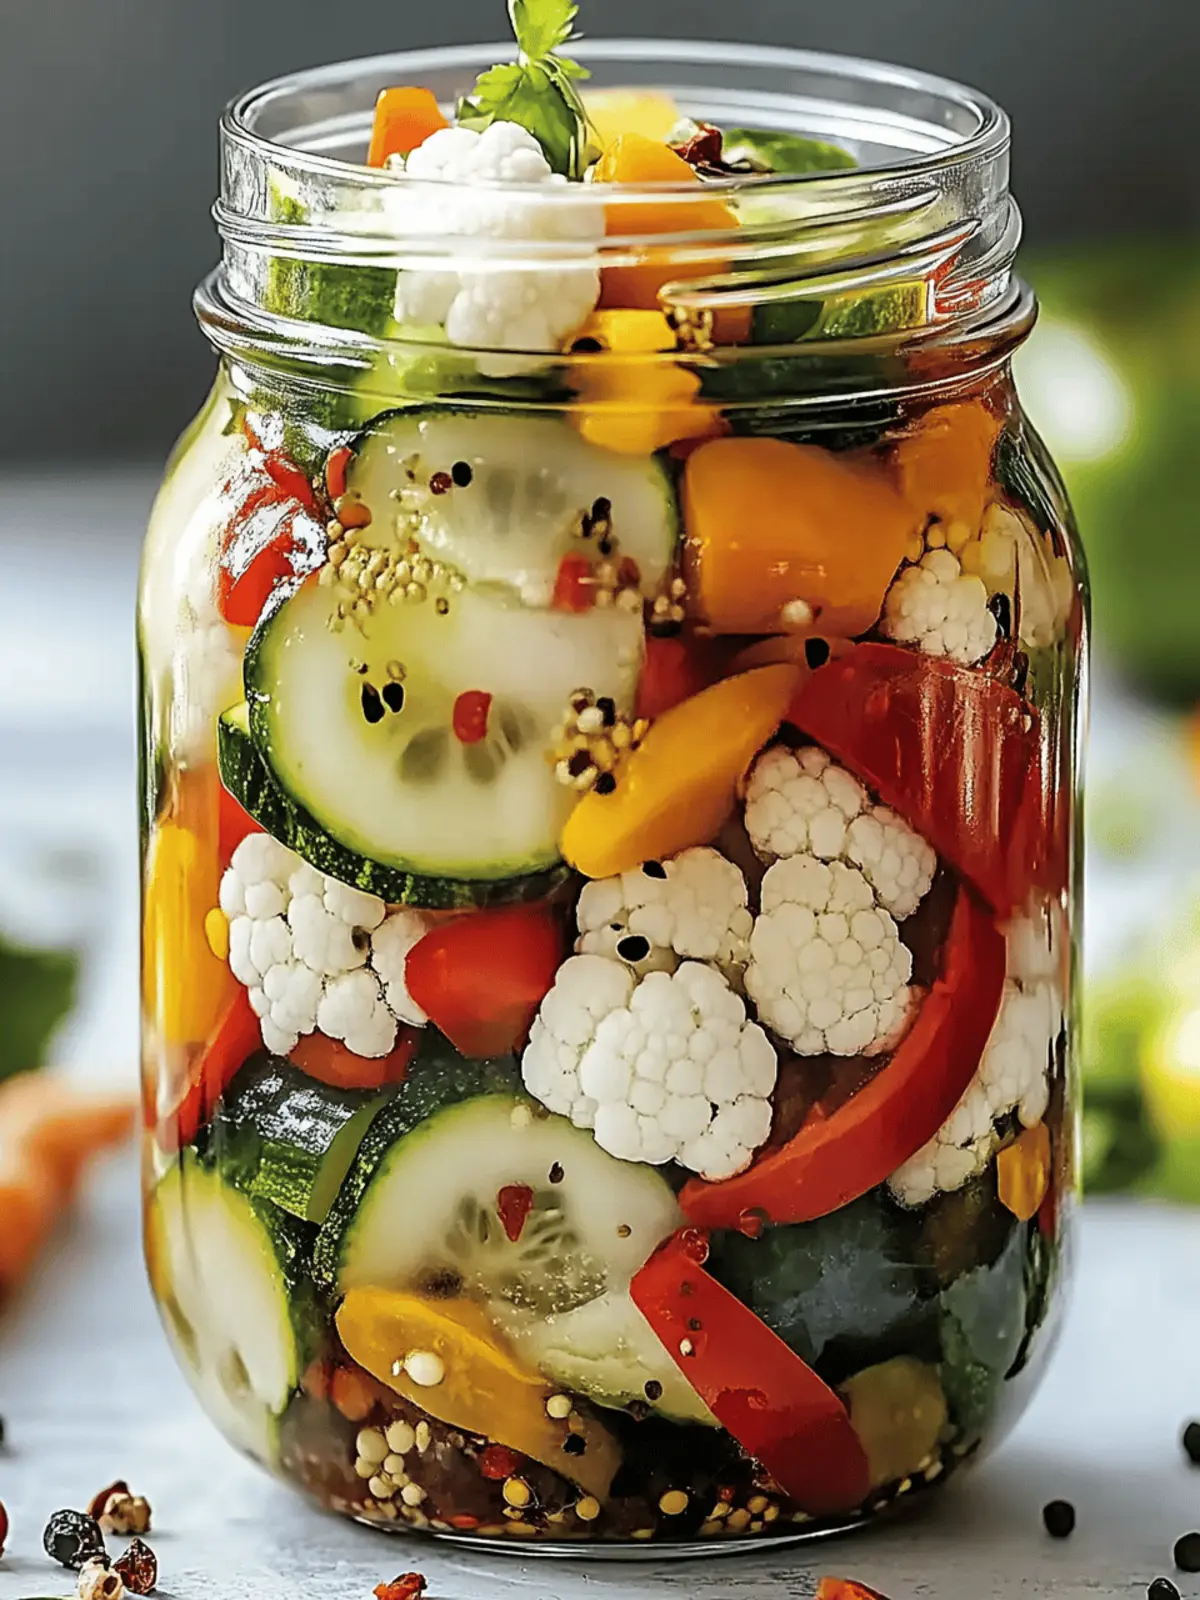
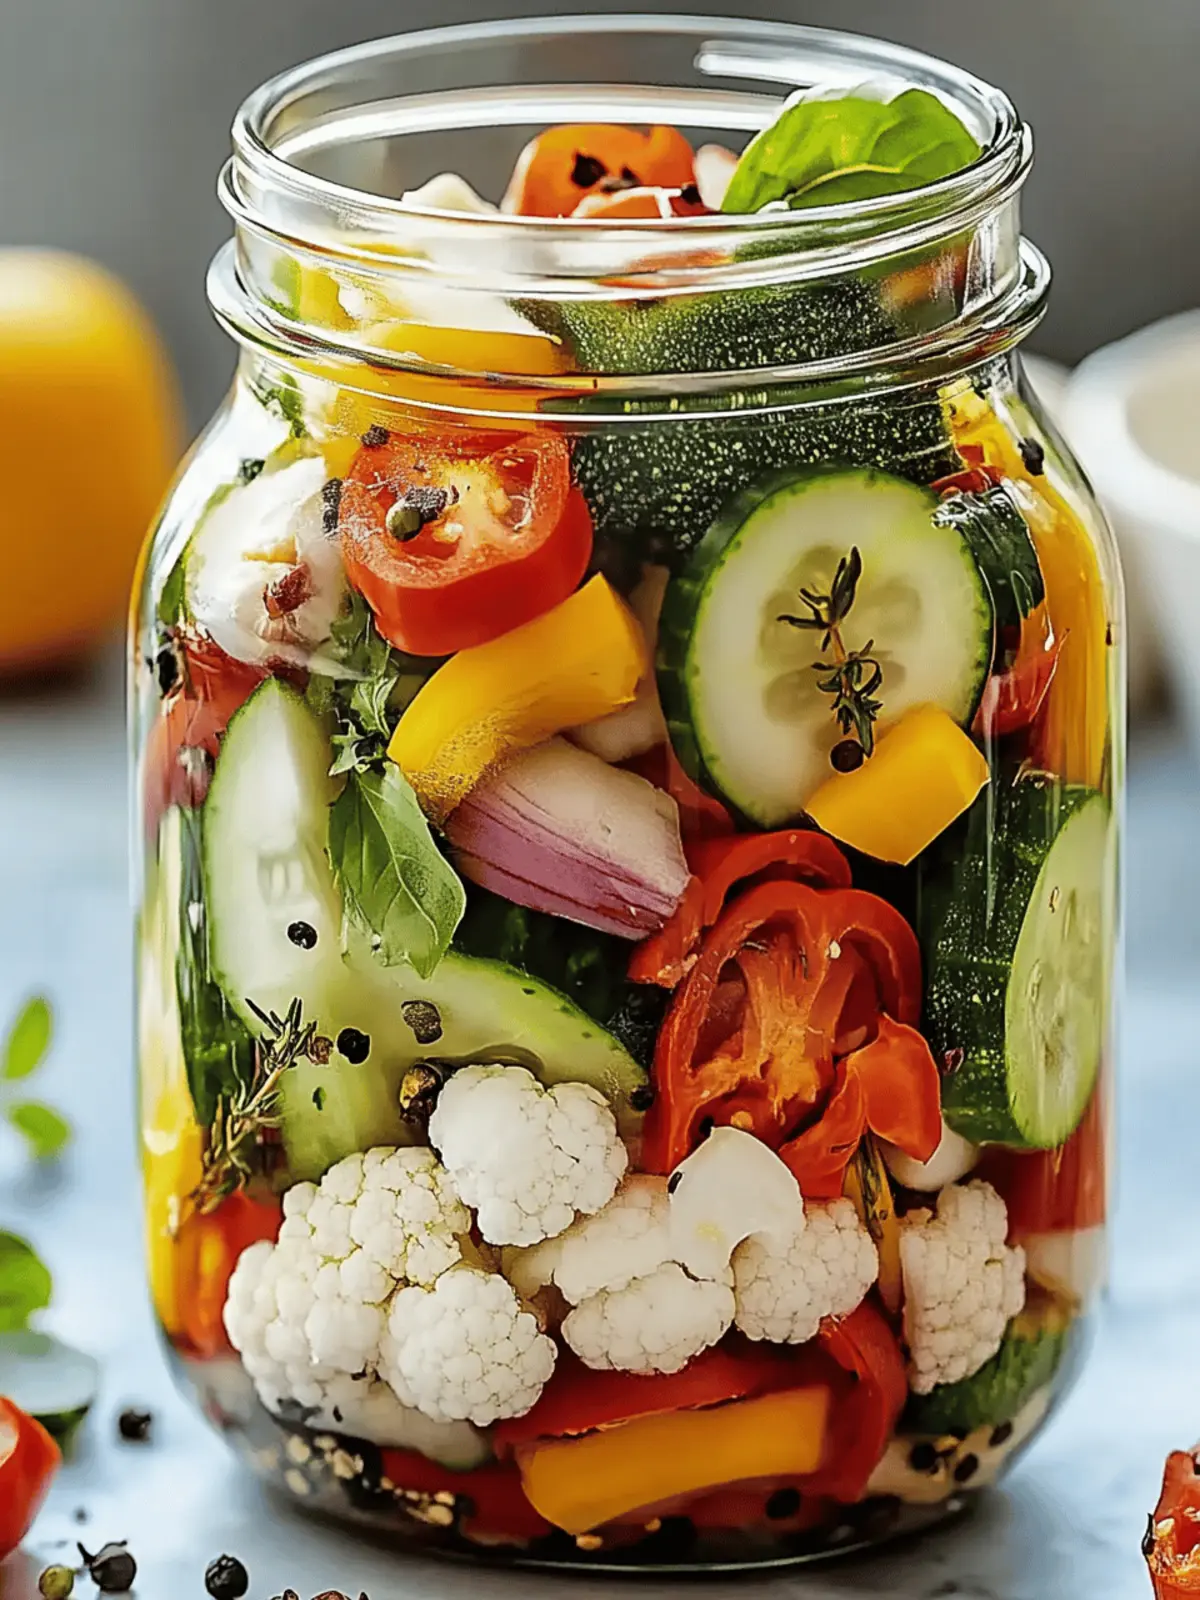
There’s a certain joy that comes from popping open a jar of homemade pickles, isn’t there? The vibrant crunch of fresh vegetables immersed in a tangy brine instantly brightens up any meal or snack. I discovered this delightful recipe for Homemade Refrigerator Pickled Vegetables during a Sunday afternoon of experimenting in the kitchen, and it turned out to be a game changer!
With just 20 minutes of prep time, you can craft a colorful medley of veggies tailored to your taste. These quick pickles are not only flavorful and crunchy but also incredibly versatile, making them an excellent addition to sandwiches, tacos, or salads. Plus, there’s no canning involved, so even novice cooks can feel confident whipping up a batch. Trust me, once you get a taste of these crisp, zesty delights, you’ll find yourself craving them far beyond summer picnics. Let’s dive into this simple yet satisfying recipe!
Why are Homemade Refrigerator Pickled Vegetables so good?
Quick preparation: You can whip these up in just 20 minutes, perfect for last-minute snacks or meals.
Customizable options: Tailor your pickles with any veggies you love, from crunchy cucumbers to sweet bell peppers.
No canning needed: This recipe simplifies the pickling process without the fuss of traditional canning equipment.
Vibrant crunch: Each bite provides a satisfying crunch that enhances everything from salads to sandwiches.
Crowd-pleasing addition: Perfect for gatherings, these pickles will impress friends and family with their bright flavors!
For more quick and delightful uses of vegetables, be sure to check out our post on vegetable stir-fry ideas.
Homemade Refrigerator Pickled Vegetables Ingredients
• Get ready to pickle!
For the Pickles
- Cauliflower florets – Provides crisp texture and unique flavor; consider using broccoli for a different taste.
- Sliced carrots – Adds sweetness and crunch; substitute with radishes for a peppery twist.
- Sliced cucumbers – A classic choice for pickling; ensure they are fresh for the best crunch.
- Red bell pepper (sliced) – Contributes sweetness and vibrant color; other sweet peppers can be used instead.
- Green beans (trimmed) – Adds snap and earthy flavors; try snap peas for a different crunch.
For the Brine
- Garlic (minced) – Infuses the brine with aromatic depth; whole garlic cloves can impart a milder flavor over time.
- White vinegar – Provides the acidic base essential for pickling; swap for apple cider vinegar for a fruity hint.
- Water – Dilutes the brine to balance acidity.
- Salt – Essential for flavor and preservation; use kosher salt to avoid chemical additives.
- Sugar – Balances the acidity; use honey for a natural sweetness.
For Flavor
- Mustard seeds – Add subtle spiciness and crunch; experiment with dill seeds for a herbal note.
- Black peppercorns – Enhances flavor; consider using mixed peppercorns for complexity.
- Red pepper flakes (optional) – Adds heat; omit for a milder flavor.
With just these simple ingredients, you can create your own Homemade Refrigerator Pickled Vegetables that are not only a treat for the palate but also a feast for the eyes!
How to Make Homemade Refrigerator Pickled Vegetables
-
Clean jars: Start by thoroughly washing 2 quart-size glass jars to ensure your pickles stay fresh and safe. Any residue can affect the flavor, so cleanliness is key!
-
Slice veggies: Uniformly slice all your chosen vegetables and pack them tightly into the jars. A colorful variety not only looks beautiful but also adds layers of flavor and texture.
-
Boil brine: In a saucepan, combine white vinegar, water, salt, sugar, and your chosen spices. Bring this mixture to a boil until everything dissolves, creating a fragrant brine.
-
Add garlic: Place minced garlic into the jars on top of the packed vegetables. This will infuse a wonderful aromatic flavor into your pickles.
-
Pour brine: Carefully pour the hot brine over the vegetables in the jars, leaving about ½ inch of space at the top. Ensure everything is completely submerged for best results!
-
Cool & refrigerate: Allow the jars to cool at room temperature for 30 minutes. Then seal them tightly and refrigerate.
-
Wait to enjoy: Patience is key! Let your pickles chill for at least 24 hours, but for the best flavor, wait 48 hours before diving in.
Optional: Try adding fresh dill for an extra burst of flavor.
Exact quantities are listed in the recipe card below.
Storage Tips for Homemade Refrigerator Pickled Vegetables
-
Fridge: Keep your pickled vegetables sealed in the refrigerator for up to 2–3 weeks to maintain their freshness and crunch.
-
Airtight Containers: Use clean, airtight jars to prevent moisture from affecting the brine and ensure the flavors remain vibrant.
-
Reheating: It’s not necessary to reheat pickles; enjoy them straight from the fridge. They add a delightful zing to various dishes!
-
Check for Quality: Always inspect the pickles before consumption; if you notice any signs of spoilage or off smells, it’s best to discard them for safety.
Homemade Refrigerator Pickled Vegetables Variations
Feel free to get creative with your pickling adventure—there are endless ways to personalize these delicious veggies!
-
Dairy-Free: Instead of sugar, try using agave syrup for a delightful twist without dairy.
-
Spicy Kick: Add sliced jalapeños to the jar for a fun, spicy surprise that livens up any dish.
-
Herbal Infusion: Toss in fresh dill or basil leaves before sealing the jars for a burst of fresh flavor.
-
Sweet & Tangy: Swap in sweet onions for a sweeter touch; their flavor mellows beautifully in the brine.
-
Crunchy Additions: Add sliced radishes for an extra crunch and a peppery flavor profile that contrasts beautifully.
-
Sweet Swap: Use honey instead of sugar for a natural sweetness that enhances the tangy brine.
-
Vinegar Variety: Experiment with flavored vinegar, like red wine or rice vinegar, for a unique taste to your pickles.
-
Texture Twist: Try adding green tomatoes for a different texture and tang that will surprise your taste buds!
What to Serve with Homemade Refrigerator Pickled Vegetables?
Elevate your meals with the zesty crunch of these homemade delights!
-
Grilled Meats: These pickles bring brightness to skewered chicken or juicy sausages, cutting through the richness beautifully. They’re a sensational complement to smoky flavors, refreshing each bite.
-
Sandwiches: Top off your favorite deli sandwich or burger with pickled veggies for a burst of flavor and crunch. They make every layer feel complete and add a delightful tang.
-
Tacos: Spice up your taco night by adding these pickles as a vibrant topping. Their tangy goodness pairs perfectly with savory meats or beans, enhancing every taco filling.
-
Salads: Toss these pickles into green salads for an unexpected crunch. They’re a great way to add flavor complexity and elevate your salad game, making it more exciting.
-
Charcuterie Boards: Include a jar of pickled vegetables alongside an assortment of cheeses, meats, and olives. They not only look stunning but also offer guests a tangy bite to cleanse the palate.
-
Soups: Garnish bowls of chilled gazpacho or summer soups with pickled veggies for added texture and flavor. They add a refreshing element that elevates simple broths.
-
Rice Dishes: Stir into fried rice or grain bowls to infuse them with extra flavor. The crunch and acidity cut through the hearty ingredients, making each bite joyful!
Expert Tips for Homemade Refrigerator Pickled Vegetables
-
Use Fresh Vegetables: Always opt for fresh, crisp veggies, as frozen ones can lead to a mushy texture in your pickles.
-
Adjusting Flavor: Don’t hesitate to experiment! Customizing flavors by changing spices or adding herbs like dill can enhance your homemade refrigerator pickled vegetables.
-
Brine Balance: Ensure your brine is well-balanced. If it tastes too tart, a touch more sugar can mellow it out without overpowering flavor.
-
Proper Cooling: Allow jars to cool for 30 minutes after pouring in the brine; this helps maintain crispness and prevents the jar from cracking due to temperature shock.
-
Storage Sturdiness: Use clean utensils for extracting pickles from the jar to help extend freshness and avoid contamination.
Make Ahead Options
These Homemade Refrigerator Pickled Vegetables are perfect for meal prep, allowing you to easily elevate your meals throughout the week! You can prepare the pickling brine and slice your vegetables up to 3 days in advance, ensuring everything is ready to go when you need it. Simply store the sliced veggies in an airtight container in the refrigerator, and keep the brine separately. When you’re ready to pickle, just combine them in jars, pour the hot brine over, and seal. Let them sit in the fridge for at least 24 hours to develop that delicious flavor. This way, your homemade pickles will be just as tasty and crunchy, saving you time on busy nights!
Homemade Refrigerator Pickled Vegetables Recipe FAQs
What vegetables are best for pickling?
Absolutely! The key to delicious homemade refrigerator pickled vegetables is using fresh, crunchy veggies. Cauliflower, cucumbers, carrots, and bell peppers are all fantastic choices. You can also use green beans, radishes, and even snap peas. Just remember, the fresher the veggies, the better the crunch, so skip any that look wilted or have dark spots all over!
How should I store my refrigerator pickles?
To keep your homemade refrigerator pickled vegetables fresh and tasty, store them in clean, airtight jars in the refrigerator. They’ll stay crisp and delicious for up to 2–3 weeks. Be sure to check them regularly and use clean utensils when serving to make them last longer and avoid any contamination.
Can I freeze pickled vegetables?
While I don’t recommend freezing refrigerator pickled vegetables, you can enjoy them fresh for a few weeks! Freezing can lead to a mushy texture, which isn’t ideal for that satisfying crunch. If you want to preserve your pickles for longer, consider traditional canning methods, but that may require additional equipment.
Advertisement
What should I do if my pickling brine tastes too sour?
No problem! If your brine is a bit too tart for your taste, simply add a pinch of sugar to balance the acidity. Start with a teaspoon, taste, and adjust accordingly until you hit that perfect spot. It’s all about finding the right balance that works for you!
Can pets eat pickled vegetables safely?
Great question! While some vegetables might be safe for pets in small amounts, most pickled items include salt and spices which can upset your pet’s stomach. Always consult your veterinarian before sharing any homemade foods with your furry friend.
How long should I wait before eating my pickled vegetables?
Patience is a virtue! While you can technically enjoy them after 24 hours, the flavors really develop and deepen after 48 hours. This waiting time allows the vegetables to absorb all those delicious brine flavors. Trust me, it’s worth the wait for that optimal taste!
Homemade Refrigerator Pickled Vegetables for a Flavorful Crunch
Ingredients
Equipment
Method
- Start by thoroughly washing 2 quart-size glass jars to ensure your pickles stay fresh and safe.
- Uniformly slice all your chosen vegetables and pack them tightly into the jars.
- In a saucepan, combine white vinegar, water, salt, sugar, and your chosen spices. Bring this mixture to a boil until everything dissolves.
- Place minced garlic into the jars on top of the packed vegetables.
- Carefully pour the hot brine over the vegetables in the jars, leaving about ½ inch of space at the top.
- Allow the jars to cool at room temperature for 30 minutes. Then seal them tightly and refrigerate.
- Let your pickles chill for at least 24 hours, but for the best flavor, wait 48 hours before enjoying.

